The coupler
With the coupler, firesys is offering a typography function with which you can determine that expressions you defined are kept together so they are never separated by line breaks.
 The list
The list shows all defined rules.
 Start
Start
This rule carries out all typography functions.
 Rules
Rules
Add
You can add coupler rules to firesys to ensure the correct typographic layout of the contents you require in the business report.
Edit
Edit an existing rule.
Delete
Deletes the selected rules.
 Filter and Search
Filters rules according to the following categories.
- Coupled terms
- Closely coupled terms
- Suppressed spacing
- Forced spacing
The filter offers a full text search for available rules.
 Language
Select the language for which you would like to define rules (for further information about languages see article “Export for Translator”).
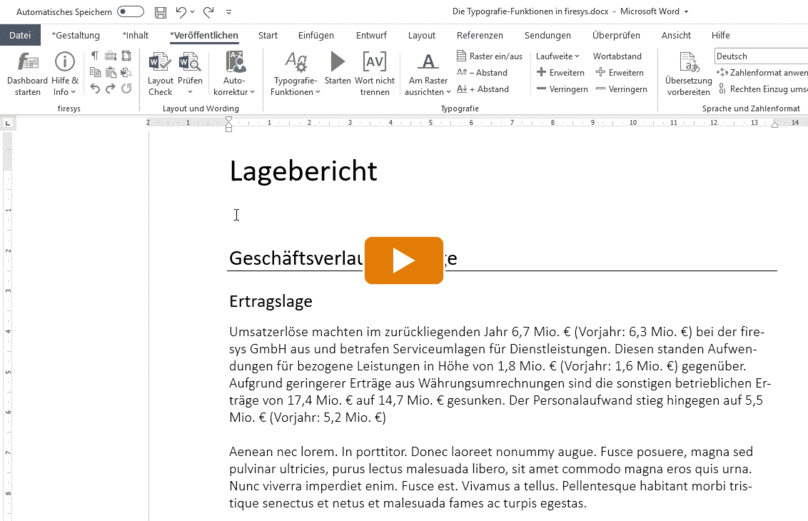
Video: Add a new rule
By using the “Start” function in the “*Publish” menu ribbon in the “Typography” group, you can have firesys execute all typography functions. The behaviour is similar when you use the “Start” function in the typography work area.
To add a new rule in the coupler:
Note: The steps listed here execute a maximum example. The video does not include all steps. Adds a rule (for more information, see “Add a new rule”).
-
First define the rules according to which non-breaking spaces should be inserted between specific terms (text and/or numbers). Click on the “Typography functions” button in the “Ty-pography” group on the “*Publish” tab.
-
The task field will open.
-
In the task field, select “Add rule” in the following dialogue on the “Coupler” tab. A dialogue will appear.
-
In the dialogue you have the possibility to define the respective elements of the coupler rule in the area "Left" and "Right".
-
Enter the exact text that is situated to the left or right of the non-breaking space or select placeholders:
-
[0-9] for any number
-
[a-z] for any letter
-
Couple: “normal width” non-breaking space; example: EUR 251 million.
-
Closely couple: inserts a narrow non-breaking space to reduce the spacing between the terms; example: 100thinsp;%.
-
Suppress spacing: suppressed space, i.e. no spacing between the terms; particularly suita-ble if different rules apply to different languages; example: the spacing required in German between the number and percent symbol should be suppressed in English
-
Force spacing: non-breaking space, even though it was not entered when the text was in-put; example: “[09]” and “%”.
-
Click “OK” to confirm your selection.
Left / Right [0-9] and [a-z]
“Couple” or “Closely couple” / “Suppress spacing” or “Force spacing”
Select how the two terms should be coupled:
Video: Use all typography functions
With the help of the function "Start" in the menu “*Publish” in the group "Typography" you can have all typography functions of firesys executed. It is similar with the function “Start” in the typography task pane.
This is how you execute the firesys typography functions in Word:
-
Position the mouse pointer at any location in your document or, if you want to execute the typography functions for only a specific area in your document, select a text area in Word.
-
Select a range of text in Word to perform Typography functions only on a specific range in your document.
-
In the “*Publish” menu ribbon, in the “Typography” group, click on the “Start” button.
→ A query appears asking whether you want to execute all typography functions now. You can confirm this dialog box with “OK”. -
Confirm the dialogue with "Ok".
→ The typography functions are then executed by firesys
→ A results dialog appears showing you a summary of the changes that were made.
See also
![]() The typography functions in firesys
The typography functions in firesys
![]() Never hyphenate word
Never hyphenate word
![]() Hyphenation
Hyphenation
![]() The baseline grid
The baseline grid

