KB-Entries 20.0.0: Unterschied zwischen den Versionen
Keine Bearbeitungszusammenfassung |
Keine Bearbeitungszusammenfassung |
||
| Zeile 24: | Zeile 24: | ||
}} | }} | ||
{{ | {{ | ||
Version vom 21. Februar 2020, 11:44 Uhr
Neuerungen
Enhancement of the firesys progress dialog during the save process in Excel
| |
|---|---|
With the publication of firesys version 20.0.0, the progress dialog which appears when you save a document and already exists in Word has also been integrated into Excel.
|
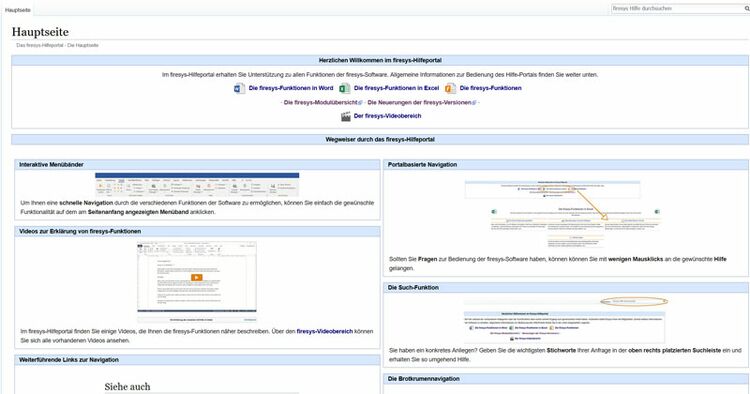
Publication of the firesys help portal
| |
|---|---|
From January 2020, the firesys software will be supported by the firesys help portal. The help portal replaces the firesys user guides in PDF format. You obtain access to the help portal via the software or the internal customer area on the firesys homepage.
 |
Enhancement of the functionality of the worksheet inspector
| |
|---|---|
The worksheet inspector has been enhanced with the publication of version 20.0.0. The “Validation” and “Master values” areas provide additional information about a selected Excel cell if this is part of a validation or maps amaster value.
A detailed explanation of the individual steps
This is how you insert a new validation in Excel:
|
Erweiterung der der Funktionalität von toolsxbrl um die Funktion „Text-Tagging vorbereiten“
| |
|---|---|
Mit Veröffentlichung der Version 20.0.0 wird der Splitbutton „Dokument vorbereiten“ in der Gruppe „XBRL-Export“ im Menüband „*Veröffentlichen“ um die Funktion „Text-Tagging vorbereiten“ erweitert. Mithilfe dieser Funktion ist es möglich, einen zuvor ausgewählten Text als Inhaltssteuerelement zu formatieren, da diese Formatierung benötigt wird, um mithilfe von toolsxbrl bestimmten Textbereichen Tags zuweisen zu können.
|
Bugfixes
Fehlerbehebungen beim Generieren von iXBRL-Dokumenten
| |
|---|---|
Mit Veröffentlichung der Version 20.0.0 werden zwei Fehler, die beim Generieren von iXBRL-Dokumenten auftraten, behoben:
Diese Fehler wurden nun mit Veröffentlichung der Version 20.0.0 behoben. |
Siehe auch
![]() Die Neuerungen von firesys im Überblick
Die Neuerungen von firesys im Überblick
![]() Die Neuerungen der Version 20.0.1
Die Neuerungen der Version 20.0.1
Weitere Inhalte
→ Webseite
→ Kundenbereich
→ YouTube